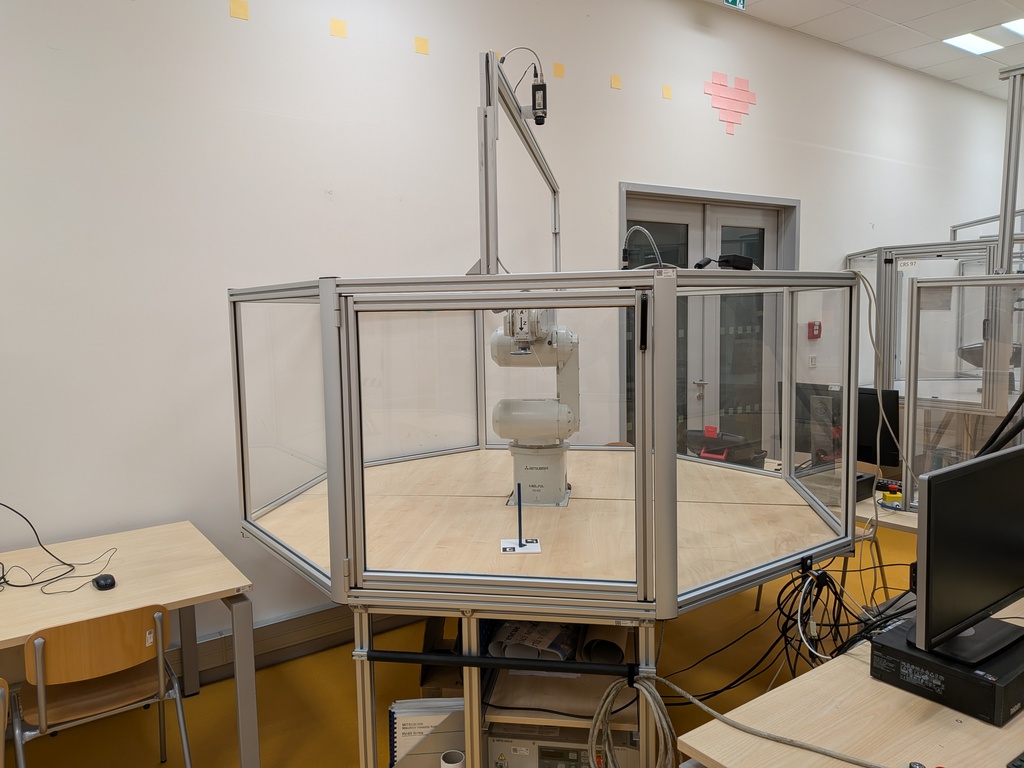
Mitsubishi RV-6S Station
The Mitsubishi RV-6S is a 6-DOF articulated robot suitable for a wide range of industrial and research applications. It is controlled via a serial connection.
We created the package ctu_mitsubishi to control the robot.
The station is equipped with Basler cameras accessible over ethernet via the name camera-rv6s.
Note
To verify camera functionality, acquire images, or work with settings, you can use the pylon viewer application. Launch it with the command /opt/pylon/bin/pylonviewer.
Please keep in mind:
The pylon Viewer application starts very slowly (taking tens of seconds).
If a camera is open in one program, it cannot be opened by another.
Mitsubishi RV-6S Robot
Installation
Note
The ctu_mitsubishi package is pre-installed on the computer at the robotic station.
However, you can also install it on your personal computer for experimentation.
pip install ctu_mitsubishi
How to Start the Robot
Turn the robot power on using the white switch on the front panel of the control unit.
Make sure the robot is set to Automatic mode (or Ext. Automatic mode). The mode is selected using the key switch on the front panel.
Warning
If the robot behaves unexpectedly, immediately press the Emergency Stop button (red mushroom-shaped button).
Python Examples
Move Individual Joints
This example demonstrates how to move each joint of the robot by a small offset.
import numpy as np
from ctu_mitsubishi import Rv6s

robot = Rv6s(debug=False)
robot.initialize()

q = robot.get_q()
for i in range(6):
    q[i] += np.deg2rad(10)
    robot.move_to_q(q)
    print(f"Moved to {np.rad2deg(q).round()} degrees")
    q[i] += np.deg2rad(-10)
    robot.move_to_q(q)
    print(f"Moved to {np.rad2deg(q).round()} degrees")

robot.stop_robot()
robot.close_connection()
Control the Gripper
This example shows how to open and close the gripper.
from time import sleep
from ctu_mitsubishi import Rv6sGripper

gripper = Rv6sGripper()

for _ in range(5):
    gripper.open()
    sleep(1)
    gripper.close()
    sleep(1)

gripper.disconnect()
Forward and Inverse Kinematics
This example demonstrates how to use forward and inverse kinematics to move the robot to a target pose.
import numpy as np
from ctu_mitsubishi import Rv6s

robot = Rv6s(port=None) # Connect without a real robot for offline kinematics

q0 = robot.get_q()
print("Current q:", np.rad2deg(q0).round())

pose = robot.fk(q0)
print("Current pose:", pose.round(3))

offset_pose = np.eye(4)
offset_pose[2, 3] = 0.1
target_pose = pose @ offset_pose
print("Target pose:", target_pose.round(3))
qs = robot.ik(target_pose)

q = min(qs, key=lambda q: np.linalg.norm(q - q0))
print("Moving to q:", np.rad2deg(q).round())
# robot.move_to_q(q) # This would move the real robot

robot.stop_robot()
robot.close_connection()
Grab a camera picture
You can easily capture an image from the camera associated with the robot using the robot interface itself. The library handles the camera connection automatically.
from ctu_mitsubishi import Rv6s

# Initialize the robot interface
robot = Rv6s(debug=False)
robot.initialize()

# Grab an image from the camera
# This will automatically connect to and open the camera on the first call
img = robot.grab_image()

# 'img' is a NumPy array containing the image data.
# You can now process it, for example, using a library like OpenCV.
if img is not None:
    print(f"Successfully grabbed image with shape: {img.shape}")

# Don't forget to close the connection when you're done
robot.close_connection()